How to Adjust Clamping Force on a 220-ton injection molding machine for Thick-Wall Plastic Parts?
2025/11/24 By le zhan
A customer told us they were using a 220-ton injection molding machine to produce 10mm thick electric vehicle battery casings, but 27% of the parts were defective: some had flash (thin plastic seeping from between the mold halves), and some were severely deformed and failed quality inspection. To prevent flash, they increased the clamping force to the machine’s maximum of 220 tons, but this caused part deformation.
Thick-walled plastic parts place higher demands on a 220-ton injection molding machine. The molten plastic must flow deeper into the denser cavity, requiring an injection pressure 15% to 25% higher than for thin-walled parts. Clamping force plays a balancing role: too little leads to flash in the mold; too much leads to part deformation or excessive stress on the mold. Therefore, this operating guide will show you how to calculate, adjust, and verify the clamping force.
The Importance of Clamping Force in a 220-Ton Injection Molding Machine for Thick-Walled Parts
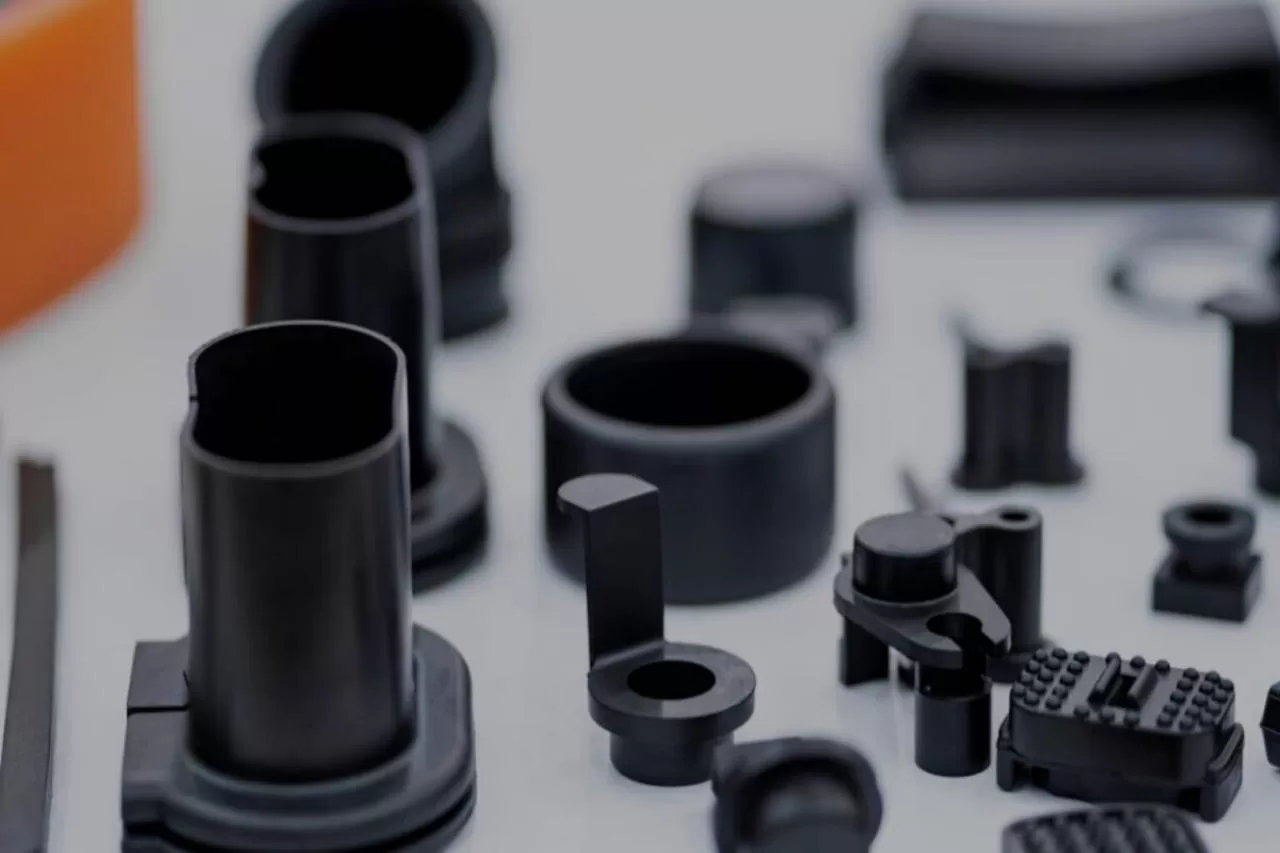
To effectively adjust the clamping force, it is essential to understand why thick-walled parts (such as PVC pipes over 5mm thick, HDPE packaging boxes over 8mm thick, and automotive bodies over 12mm thick) have specific requirements for a 220-ton injection molding machine. The core challenge lies in balancing injection pressure and mold stability.
Thick-walled cavities require higher injection pressures (1200-1800 bar) to inject the molten plastic into every corner before it cools. This pressure exerts an outward force on the mold—the clamping force acts like a “lid” keeping the box closed. Insufficient clamping force can lead to the following:
- Molten plastic seeps between the two halves of the mold, creating flash that requires costly finishing.
- Misalignment of the two halves of the mold causes parts to exceed dimensional tolerances.
- Repeated bending of the mold weakens guide pins and cavities, reducing mold life by 30-40%.
Excessive clamping force can lead to the following:
- Excessive pressure can deform cooling components, causing warping. – The mold surface is compressed, leaving dents or “shrinkage marks” on the part surface.
- Injection molding machine energy consumption increases by 15-20%, driving up operating costs.
Accurately Calculating the Clamping Force for a 220-Ton Injection Molding Machine
The most common operator mistake is setting the clamping force to the injection molding machine’s maximum value “for safety reasons.” The correct clamping force depends on three variables: the projected area of the part, the injection pressure of the plastic, and the safety factor.
Calculation Formula: Clamping Force (tons) = (Projected Area × Injection Pressure) ÷ 2,000 × Safety Factor
Let’s illustrate each component with a practical example (a 10mm thick ABS car body):
- Projected Area: The area of the most significant cross-section of the part. For irregular shapes, please use CAD software or draw the part on graph paper. Our ABS body has a projected area of 18.6 square inches.
- Injection Pressure: Thick-walled ABS requires 1400 bar (20305 psi). Please refer to the relevant material data sheet; rigid plastics (PC, ABS) require higher pressure than soft plastics (PP, PE).
- Conversion Factor (2000): Converts psi to tons.
- Safety Factor (1.2-1.3): Provides cushioning for thick-walled parts to withstand pressure spikes during filling.
Based on the example above, the calculation is: (18.6 × 20305) ÷ 2000 × 1.3 = Approximately 247 tons. After adjusting the safety factor to 1.15 and optimizing the injection pressure, the final target is 215 tons.
Detailed Clamping Force Adjustment Steps
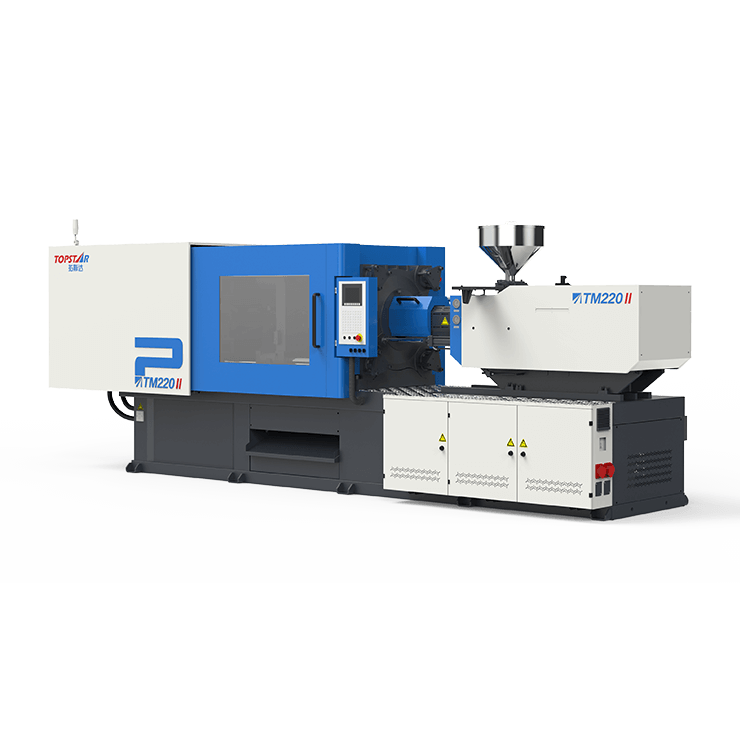
After determining the target clamping force, follow these steps to adjust your 220-ton injection molding machine. We will use a Topstar TMll 220-ton injection molding machine as an example to show you the specific steps.
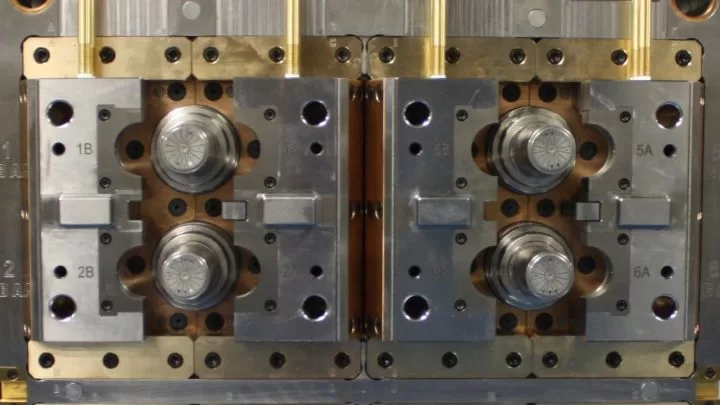
First, perform an LOTO operation on the injection molding machine to prevent accidental start-up. Clean the mold parting line (remove old plastic or debris) and check that the guide pins are lubricated—debris or dry guide pins can cause uneven force distribution. Confirm that the mold is properly clamped onto the platen. Next, navigate to the “Clamping” menu on the touchscreen. Select “Force Adjustment” to enter the target force (215 tons). For toggle-type injection molding machines, the force is adjusted by changing the closing angle; the smaller the angle, the greater the force.
For a 220-ton injection molding machine, locate the clamping pressure relief valve. Use a pressure gauge to monitor the force. Turn the valve clockwise to increase the force and counterclockwise to decrease it. Typically, each rotation will adjust the force by 5-10 tons. Then unlock the injection molding machine and run 5-10 trial cycles with an empty mold. Check the machine’s force monitor to see if the target force (215 tons) is reached during the clamping phase. If not, fine-tune the control force by 5 tons and test again.
Next, run 10 cycles with a thick-walled mold. Check the specific condition of each part:
- Flash = Increase pressure by 5-10 tons: Molten plastic is escaping – increase pressure to seal the mold.
- Warp/Sinkmark = Reduce pressure by 5 tons: Excessive pressure is causing part deformation – slightly reduce the pressure.
- Perfect Part = Lock Settings: Saves the adjustment values to the machine’s formula to match the mold/material combination.
Common Adjustment Mistakes and How to Avoid Them
Even with a correct formula, minor errors can lead to the failure to produce thick-walled parts. Therefore, we need to avoid the following five pitfalls:
- Confusing Projected Area with Actual Volume: Projected area determines the required pressure. A 10mm thick part with a larger flat surface requires more pressure than a heavier but narrower part.
- Setting the pressure of a 220-ton injection molding machine to maximum “just in case”: Running at 220 tons of pressure puts excessive stress on the toggle or hydraulic system, leading to premature wear.
- Ignoring Material Temperature: Lower-temperature plastics are thicker and require higher injection pressure, and therefore also higher clamping force. If the material temperature drops by 20 degrees Fahrenheit, an increase of 5-8 tons of pressure is needed.
- Ignoring Post-Adjustment Checks: Run the machine for more than 50 cycles after adjustment, then check for part consistency. Pressure may shift slightly as the machine heats up.
- Ignore mold wear: Worn molds require 5-10 tons more pressure than new molds. Check mold wear monthly.
Topstar’s Secrets to Successful Injection Molding of Thick-Walled Parts
Topstar’s TMll 220-ton injection molding machines distribute pressure more evenly across the mold, reducing warpage in thick-walled parts by 40%. They also adjust the injection force, applying a higher force during filling (at the pressure peak) and a lower force during cooling (to prevent warpage). Furthermore, they trigger an alarm when the set force deviation exceeds 5%, allowing for timely detection and resolution before problems lead to scrap. Additionally, force needs to be matched to injection speed; reducing injection speed reduces pressure peaks, and reducing the filling speed by 10% can reduce clamping force by 5 tons without generating flash.
Precise Clamping Force Control for Thick-Walled Plastic Parts
Adjusting the clamping force of a 220-ton injection molding machine to produce thick-walled parts is not a matter of guesswork, but a precise process of calculation, testing, and fine-tuning. Errors can be extremely costly. For thick-walled parts, the first step is to develop a formula, conduct small-scale testing, and utilize all the machine’s functions to ensure consistency, thus reducing costs.
TRENDING POSTS
- TOPSTAR Global Open Day 2025: Humanoid Robot Debuts, Pioneering a New Decade of Intelligent Manufacturing 2025/11/24
- Topstar Showcases TE II Electric Injection Molding Machines at InterPlas Thailand 2025 2025/11/24
- Topstar Expands Its Ecosystem Partnerships to Drive Smart Manufacturing Innovation 2025/11/24
- What factors can cause delays in the injection molding process of plastic molding machine? 2025/11/24
HOT TOPIC
- .ervo motor-driven linear robots
- •
- 1.0 guangdong topstar technology co. ltd
- 1.0 topstar china
- 1.0 topstar robot
- 11
- 160℃ mold temperature controller
- 170 ton injection molding machine
- 2
- 21
- 220-ton injection molding machine
- 23
- 260 ton injection molding machine
- 3 axis robot
- 3 axis robots
- 3 in 1 Compact Dehumidifying Dryer
- 3-axis robot
- 3-axis robots
- 39
- 41
- 460T injection molding machine
- 5-axis CNC machine
- 62
- 90 ton injection molding machine
- accuracy
- Air Chillers
- all electric injection molding machine
- all electric injection molding machines
- all-electric injection molding machine
- All-electric injection molding machines
- and overall production quality. Therefore
- AP-RubberPlas
- auto loader
- automated injection molding machine
- Automation changed engineering
- automation of injection molding robots
- automotive parts injection molding
- Auxiliary Equipment
- auxiliary machine
- Bench Injection Molding Machine
- cabinet dryer
- Cabinet dryer manufacturers
- Cabinet dryers
- chiller
- CNC Drilling Machine
- CNC Drilling Machines
- cnc engraving machine manufacturer
- cnc laser cutting machine manufacturer
- CNC machine
- CNC Machine Center
- CNC Machine for Sale
- CNC Machine Manufacturing
- CNC Machine Tool
- CNC machine tool product
- CNC Machining Center
- CNC wood carving machine
- Cooling system
- Cross-Walking Single Axis Servo Cylinder Robot
- Cross-Walking Single-Axis Servo Cylinder Robot
- Cross-Walking Three-Axis/Five-Axis Servo Driven Robot
- cross-walking three-axis/five-axis servo-driven robot
- Dehumidifier Dryer
- Dehumidifying Dryer
- delta parallel robot
- Desktop Injection Molding Machine
- Desktop injection molding machines
- Desktop Molding Machine
- desktop plastic injection machine
- Desktop Plastic Injection Molding Machine
- Digital Transformation
- direct clamp injection molding machine
- Direct clamp injection molding machines
- Dosing & mixing system
- Drilling Centers
- Drying and dehumidification system
- drying and dehumidifying equipment
- Drying and Dehumidifying System
- drying system
- effective and efficient. Cabinet dryers are also used in other industries where large quantities of material need to be dried
- efficient injection molding machine
- elbow hydraulic injection molding machines
- electric injection molding machine
- electric injection molding machines
- energy-efficient injection molding robot
- energy-efficient water chiller
- energy-efficient water chillers
- energy-saving injection molding machine
- etc. Among injection molding robots
- exhibition
- features of CNC machine
- Feeding And Conveying System
- Five Axis Machine Center
- Flexible Production Line
- Fully automatic injection molding machine
- Gathering Topstar
- giant injection molding machine
- GMU-600 5-Axis Machining Center
- Granulating & Recycling System
- granulator machine
- gravimetric blender
- Heavy duty injection molding machine
- High-precision electric molding machines
- high-precision plastic molding machines
- high-speed all electric injection molding machine
- high-speed electric injection molding machine
- High-Speed Packaging Injection Molding
- Honeycomb rotor dehumidifier
- Hopper Dryers
- horizontal injection molding machine
- Horizontal Injection Molding Machines
- Horizontal Injection Moulding Machine
- Horizontal Mixer manufacturer
- How The CNC Machine Works
- hybrid injection molding machine
- hydraulic injection molding machine
- Hydraulic Injection Molding Machines
- in this article
- Industrial AI
- Industrial Automation
- Industrial robot
- Industrial Robot Chinese brand
- industrial robot parts
- industrial robot supplier
- Industrial robots
- Industry Chain
- Injection Manipulator
- injection manipulator robot
- injection mold machines
- Injection molding
- Injection molding automation
- Injection Molding Automation Solution
- injection molding dryer
- Injection molding equipment
- injection molding hopper dryer
- Injection molding machine
- injection molding machine brand
- Injection Molding Machine Factory
- Injection Molding Machine Manufacture
- Injection molding machine manufacturer
- injection molding machine manufacturers
- Injection molding machine procurement
- injection molding machine robotic arm
- injection molding machine with a robot
- Injection molding machines
- injection molding material dehumidifying
- injection molding plant
- injection molding process
- Injection Molding Robot
- injection molding robot arm
- Injection molding robot automation
- Injection molding robotic arm
- injection molding robots
- injection moulding dryer
- Injection moulding machine
- injection moulding machines
- Injection Moulding Robots
- Injection Robot
- Injection robot arm
- Injection robot manufacturer
- Injection robot wholesale
- injection robots
- Intelligent Factory
- intelligent injection molding machines
- Intelligent Manufacturing
- intelligent mold temperature
- intelligent mold temperature controller
- Intelligent mould temperature controller
- InterPlas Thailand 2025
- Introducing Injection Robot
- It is the best choice for drying large quantities of material at once. Cabinetmakers use these machines because they are fast
- Large flow water type mold temperature controller
- large injection molding machine
- large injection molding machines
- Learn what industrial automation and robotics is
- linear robot
- linear robots
- low speed sound-proof granulator
- machine plastic molding
- make sure to add some! Improvements (2) Keyphrase in introduction: Your keyphrase or its synonyms appear in the first paragraph of the copy
- manipulator machine
- manufacturing
- Manufacturing Innovation
- medical grade injection molding machines
- Medical Injection Molding
- medical injection molding machine
- medical injection molding machines
- micro injection molding machine
- middle speed granulator
- Mini CNC machine manufacturers.
- mobile cover making machine
- Mold Temperature Control System
- mold temperature controller
- mold temperature controllers
- molding machine
- molding material Dehumidifying System
- mould temperature control system
- mould temperature controller
- mould temperature controllers
- New electric injection molding machine
- nitrogen dryer manufacturer
- nitrogen dryer system manufacturer
- Oil type mold temperature controller
- Oil type mold temperature controllers
- open day
- optical component injection molding
- Outbound links: No outbound links appear in this page. Add some! Images: No images appear on this page. Add some! Internal links: No internal links appear in this page
- packaging injection molding
- Packaging Solutions
- PET Preform injection molding
- phone case maker machine
- phone case making machine
- phone cover making machine
- PID Control Mold Temperature Controller
- plastic auto loader
- plastic bottle making machine
- plastic bottle manufacturing
- plastic bucket making machine
- plastic bucket manufacturing
- Plastic chair making machine
- plastic dryer for injection molding
- plastic forming equipment
- Plastic Granulators
- plastic hopper dryer
- plastic injection machine
- plastic injection machines
- plastic injection molding
- Plastic injection molding equipment
- Plastic injection molding machine
- Plastic Injection Molding Machines
- plastic injection moulding machine
- plastic injection moulding machines
- plastic injection robot
- plastic molding
- Plastic Molding Industry
- Plastic Molding machine
- plastic molding machine 1
- Plastic Molding Machines
- plastic molding press
- plastic moulding machine
- plastic phone case making machine
- plastic-molding machine
- powerful granulator
- Powerful Type Sound-Proof Granulator
- precision injection molding
- precision injection molding machines
- production of plastic seats
- pure water mould temperature controller
- Robot injection molding
- robot injection molding machine
- robot manufacturing companies
- Robotic arm for injection molding machine
- robotic injection molding machines
- robotics in injection molding
- SCARA robot
- SCARA robots
- Screw dosers
- Service-oriented manufacturing
- Servo Cylinder Robot
- servo driven robot
- Servo Driven Robots
- servo injection molding machine
- servo injection robots
- servo motor-driven linear robots
- servo-driven 3-axis robot
- Servo-driven injection molding machine
- Servo-Driven Robot
- Setup of injection machine
- Silicone Injection Molding Machine
- six-axis industrial robot
- Smart Manufacturing
- soundproof granulator
- Stainless Hopper Dryer
- Stainless Hopper Dryers
- star club
- swing arm robot
- take-out robot
- take-out robots
- Thailand 4.0
- the choice between servo-driven robots and hydraulic robots will have a certain impact on efficiency
- the most popular injection molding machine
- the type of injection molding robot
- TIC2000 Control System
- TMII injection molding machine
- toggle clamp injection molding machine
- Toggle Hydraulic Injection Molding Machines
- toggle injection molding machine
- Top 10 brands of injection robots
- Topstar
- Topstar Electric Injection Molding Machine InterPlas Thailand 2025 Smart Manufacturing Thailand 4.0
- Topstar Engineering
- Topstar Industrial Robots
- Topstar injection molding intelligent
- Topstar Scara Robots
- Useful Injection molding machine
- Vertical machining centers
- volumetric type blender
- water chiller
- water chillers
- water distributor
- water type mold temperature controller
- Water Type MoldTemperature Controller
- Water-Type Mould Temperature Controllers
- We often face choices when performing injection molding. We will choose the type of injection molding machine
- wholesale of injection molding machines
- x carve CNC
- 热门查询 点击次数 展示 排名 topstar